Record covers are often real works of art and far too bad that they disappear into the record shelf. The style design concept allows you to present your favorite plates as an impressive decoration.
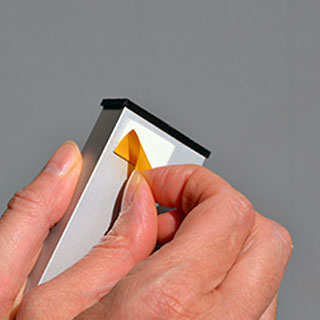
We will show you how easy it is to install the carrier system. First, remove the carrier film from the back stickers. Now fix the top rail to the desired position and press it slightly.

For a correct fit of the profile system, please use a water scale to help.

Use a pen to mark the respective bore hole on the wall. Now carefully remove the rail again.
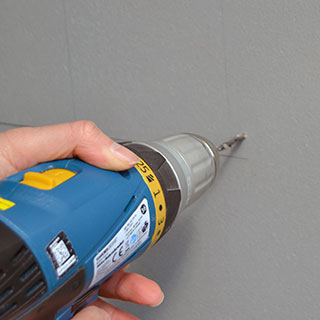
Use a 5 mm drill to drill a corresponding hole on each side.

All necessary accessories are included in the scope of delivery.

Now insert a dowel into the drilled holes.

In the next step, fix the upper profile rail with the screws.
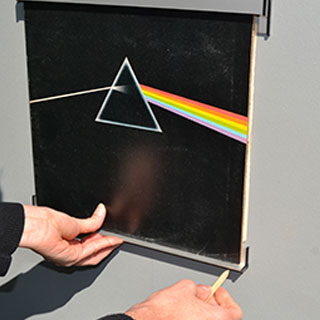
Please refer to the assembly instructions for the correct distance or use an LP. Use a pen to select the distance for the lower profile rail.
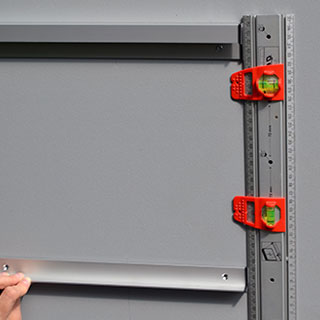
Check the correct fit of the lower profile rail again carefully, using a water scale.
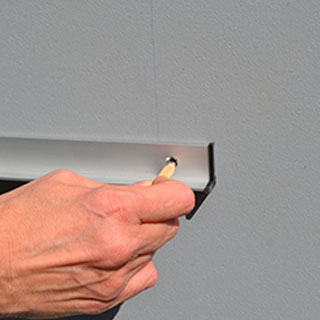
Please mark the position of the two boreholes again with a pin.
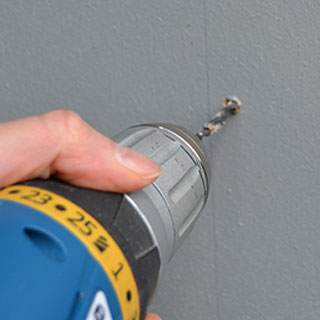
Predrill the holes again with the drill.

After fastening the lower rail with plugs and screws, the system is mounted.

To insert your favorite LP, insert the cover at the top and place it on the bottom rail.

Due to the easy handling, an exchange of the cover motifs is carried out quickly.
Attention:
For assembly, use only the specified tool and do not load the carrier system with a weight of more than 2kg.
